Mastering Professional Precision: Step-by-Step Guide to Repairing a Large Wall Hole
Fixing a Big Hole in Your Wall: My Foolproof Step-by-Step Guide
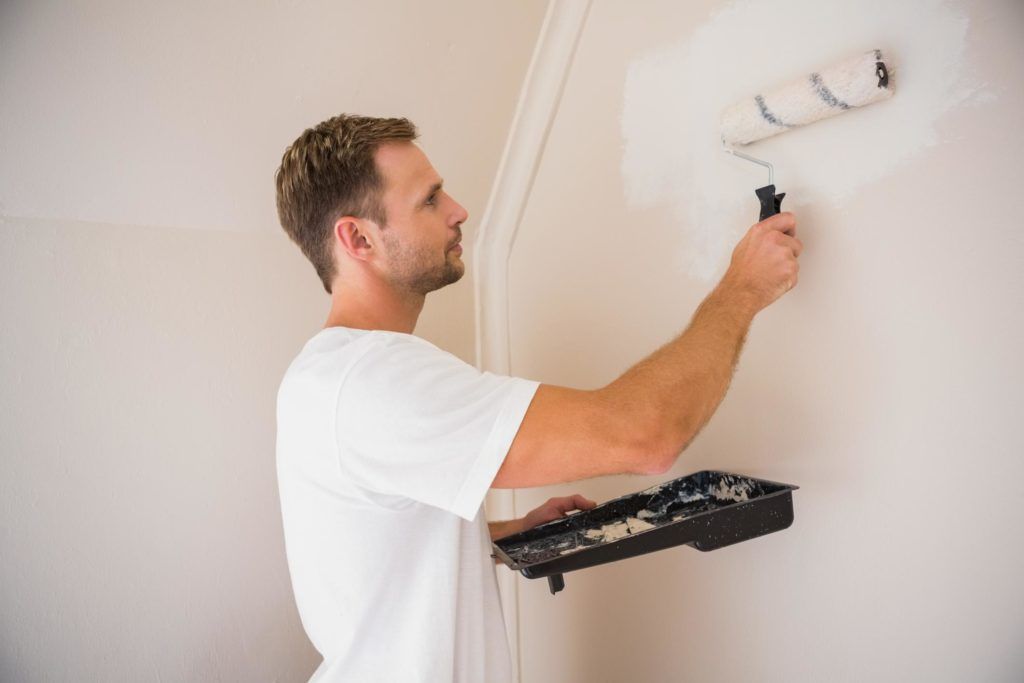
I have encountered numerous homeowners who underestimate the significance of addressing and repairing a hole in their property. While it may seem like a minor flaw, neglecting to fix this issue can have serious consequences for both your home's structural integrity and its overall aesthetic appeal. In this blog post, we will explore the importance of tackling this problem head-on, providing insights and expert advice on how to effectively address and repair any holes in your home. Don't let a small hole become a big problem – read on to discover why addressing this issue promptly is crucial for every homeowner.
Gather the Materials Needed for Repair
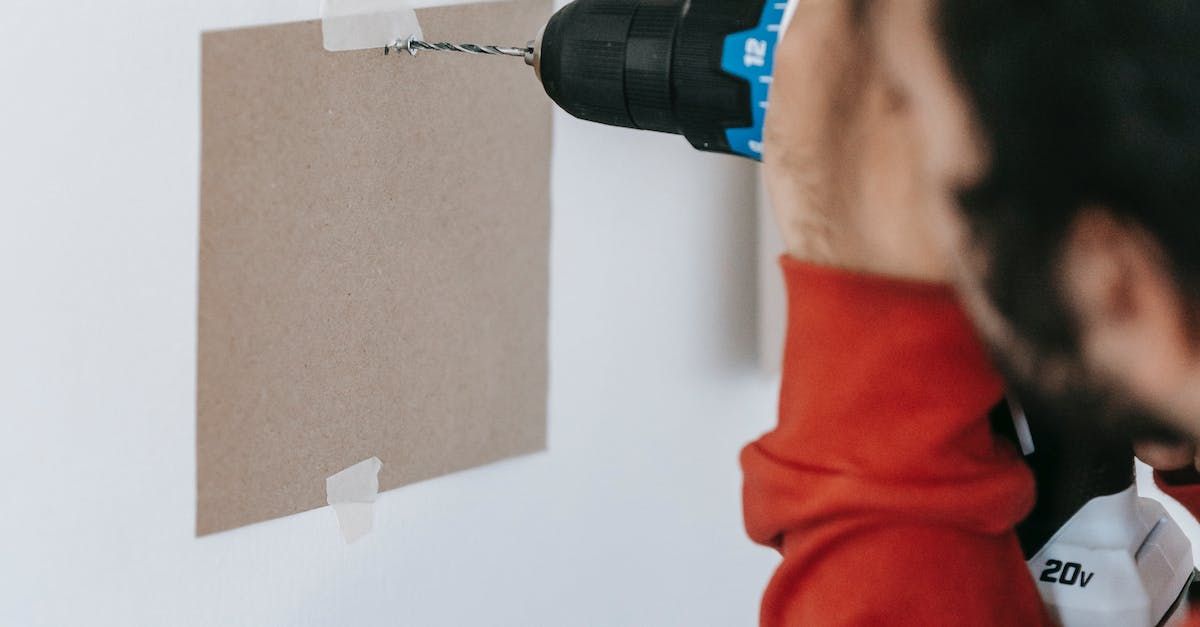
The first step in repairing a big hole in your wall is gathering all the necessary tools and materials. This step is crucial to ensure a smooth and successful repair process. The tools you will need include a utility knife, a putty knife, a sanding block, a drywall saw, and a drill. It is also important to have a dust mask, safety goggles, and work gloves to protect yourself during the process. Additionally, you will need the materials such as drywall compound, drywall tape, and a piece of drywall to patch the hole. By having all these tools and materials ready, you can approach the repair task confidently and efficiently.
List of tools and materials needed for the repair:
1. Drywall saw
2. Drywall joint compound
3. Fiberglass mesh tape
4. Sandpaper
Preparing the Surface
Properly preparing the surface when repairing a big hole in your wall. The first step is to remove any loose debris or crumbling plaster surrounding the hole. This can be done by gently scraping away any loose material with a putty knife. Once the loose debris is cleared, it's important to clean the surface thoroughly. This can be done using a mixture of warm water and mild detergent. Make sure to remove any dirt, grease, or grime that may be present on the wall. After cleaning, it's essential to let the surface dry completely before moving on to the next step. This ensures that the repair materials will adhere properly and create a seamless finish. By taking the time to properly prepare the wall, you are setting yourself up for success in repairing the big hole and restoring your wall to its former glory.
Applying the Fiberglass Mesh Tape
One of the essential materials I rely on when repairing these holes is fiberglass mesh tape. This incredible tape is an integral part of the step-by-step process of restoring your wall to its former glory. To apply the fiberglass mesh tape correctly, start by cleaning the hole and removing any loose debris. Next, measure and cut a piece of the mesh tape slightly longer than the hole. Then, press the tape firmly against the hole, ensuring it covers the entire damaged area. To achieve a smooth finish, I recommend using a putty knife to spread a thin layer of joint compound over the tape. Allow the compound to dry completely before sanding it down and applying a second layer if necessary. With the fiberglass mesh tape properly applied, you can rest assured that your repaired wall will withstand the test of time.
Applying the Drywall Joint Compound
To start, it is essential to gather all the necessary materials such as a putty knife, sandpaper, joint tape, and of course, the joint compound. Begin by cutting a piece of joint tape that is slightly longer than the hole. Then, using a putty knife, apply a thin layer of the joint compound along the edges of the hole, ensuring it covers the entire area. Next, carefully place the joint tape over the compound and press it firmly into place. Once the tape is secured, go ahead and apply another layer of the joint compound over it, making sure to feather the edges to blend it seamlessly with the surrounding wall. Allow this coat to dry completely and then sand it down lightly to achieve a smooth surface. Repeat this process for a second coat if necessary, ensuring that each layer is well-sanded before proceeding. By following this step-by-step process, you can successfully apply the drywall joint compound and achieve a flawlessly repaired hole in your wall.
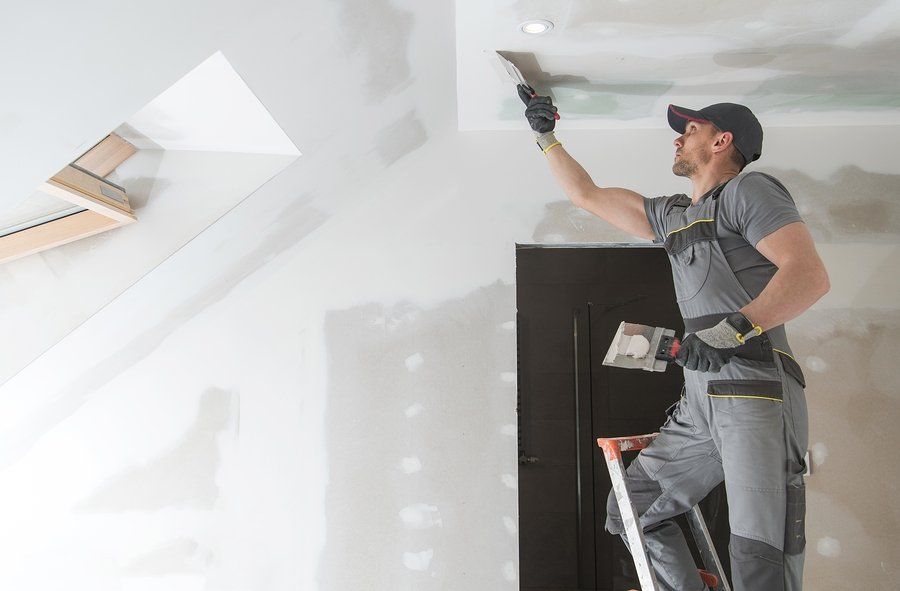
Sanding and Finishing the Repair
After carefully filling the hole with spackling compound and allowing it to dry, it's time to smooth out any rough edges. This is where sanding comes into play. Using a fine grit sandpaper, I begin by gently sanding the patched area in circular motions, gradually blending it in with the surrounding wall. It's important not to apply too much pressure, as this can damage the newly repaired surface. Once the area is smooth to the touch, I then move on to preparing it for finishing.
After sanding, the repaired area may appear slightly dull and different from the rest of the wall in terms of texture. That's where finishing comes in. To ensure a seamless integration, I start by wiping away any dust residue left from sanding. Using a damp cloth, I gently wipe the surface clean, taking care not to disturb the surrounding paint. Once dry, I proceed with applying primer to the repaired area. Primer helps to seal the surface, ensuring that the paint adheres properly. After allowing the primer to dry, I then carefully match the paint color to that of the existing wall and smoothly apply it across the repaired area, feathering the edges.
Sanding and finishing are crucial steps in the process of repairing a big hole in your wall. They not only ensure a smooth and uniform surface, but also help in seamlessly blending the repair with the rest of the wall. With the right tools and techniques, you can achieve professional-looking results that will leave your wall looking as good as new. So, whether it's a DIY project or you're hiring a professional, be sure to pay attention to the sanding and finishing stages to achieve a flawless finish.
Conclusion
In conclusion, it is crucial to address and repair any holes in your walls for both aesthetic and functional purposes. Not only does it improve the overall appearance of your home, but it also prevents further damage and maintains the structural integrity of your walls. By following the steps outlined in this blog post, you can successfully repair any hole using fiberglass mesh tape and drywall joint compound. Remember to sand and finish the repair for a seamless finish. If you need assistance or would like a professional to handle this task for you, don't hesitate to contact us now for a free quote. We have the expertise and tools necessary to ensure a flawless repair that will leave your walls looking as good as new. Don't let holes mar the beauty of your home any longer- reach out to us today!